
Christmas Penguin Nail Tutorial
13:55
To get into the Christmas spirit I thought I would show you how to create a fun, Christmassy penguin on your nails.
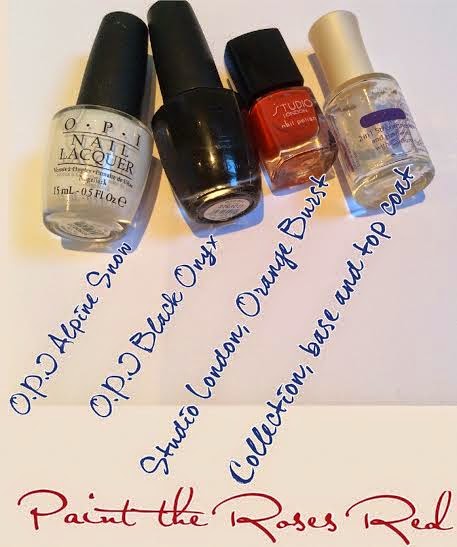
For this design you will need the same/similar nail polishes to the ones I have in the picture above. You will also need some dotting tools or a toothpick to create small circles.

After applying a base coat (optional!) paint your entire nail black. For this, I am using a black from O.P.I.
After that has dried, you want to take a white nail polish, and paint from half way down your nail to the tip.

You also want the white to go slightly outwards towards the tip of your nail, so that the shape is curved rather than straight.
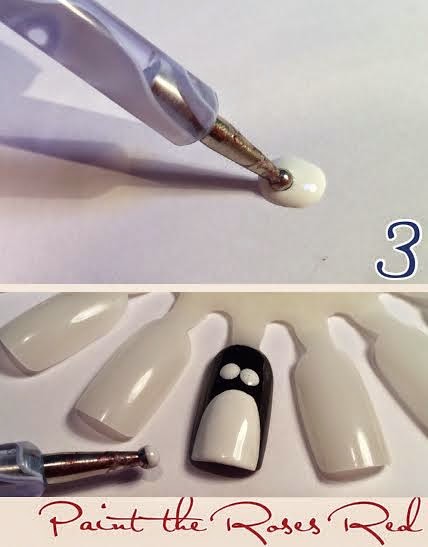
Next, you need a dotting tool however a toothpick/hair pin also works fine. You want to create two dots with tour white nail polish fairly close to the base of your nail; like I have so in the photo above.
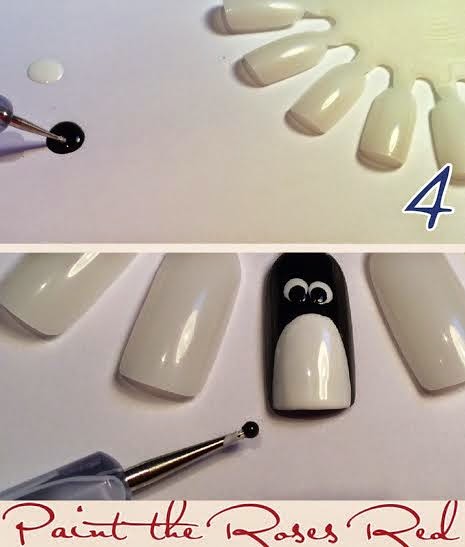
Once that has dried you will need the black nail polish again as well as a smaller dotting tool. Two finish the eyes you need to create two smaller dots inside the larger white dots.
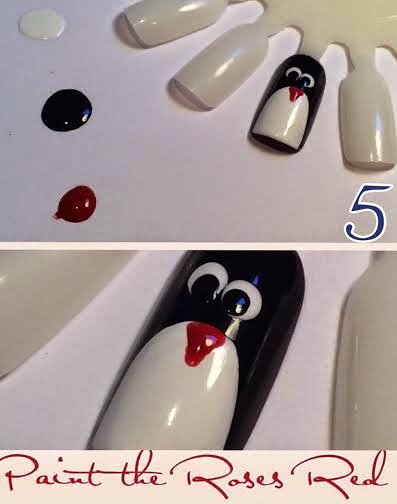
Next is the beak. To do this I used one of my dotting tools to create a small triangle below the eyes. This took me a little while to master but it's easier to start at the bottom and then stretch out the triangle going upwards.

To finish off our little penguin we need to add some feet. To do this I used the same colour as I used for the beak, and using the same dotting tool I painted two small dots at the very tip of the nail.
After that I went over the whole nail with a top coat from Collection.
And there you have it! A finished Christmas penguin nail design! I hope you found this tutorial relatively easy! Please let me know in the comments :)


0 comments